Company-Setup.html
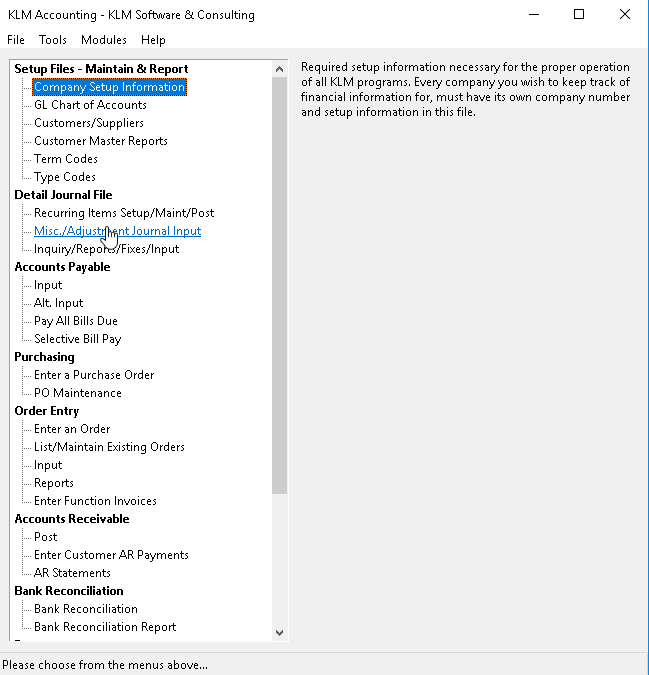
COMPANY SETUP INFORMATION
PURPOSE:
Required SETUP information necessary for the proper operation of all KLM programs. Every company you wish to keep track of financial information for must have its own company number and setup information in this file.
REQUIRED SETUP
- Company Master Record - Name, Address ...
- Accounting Periods Ending dates - used in the system to assign monthly period numbers to transactions, based on date lookup.
- GL Account Default Screen - used to assign GL Accounts to all standard values used in AR and AP (i.e. GST, PST, Bank....).
- If you have other KLM Systems active, also do the required setup in this shared file for those systems (section 1).
NOTE: The first Company (01) added should be your main company, as it will be the default for all screens in this package.
ADDING A COMPANY RECORD
1) Click on the FILE option, then click on NEW.
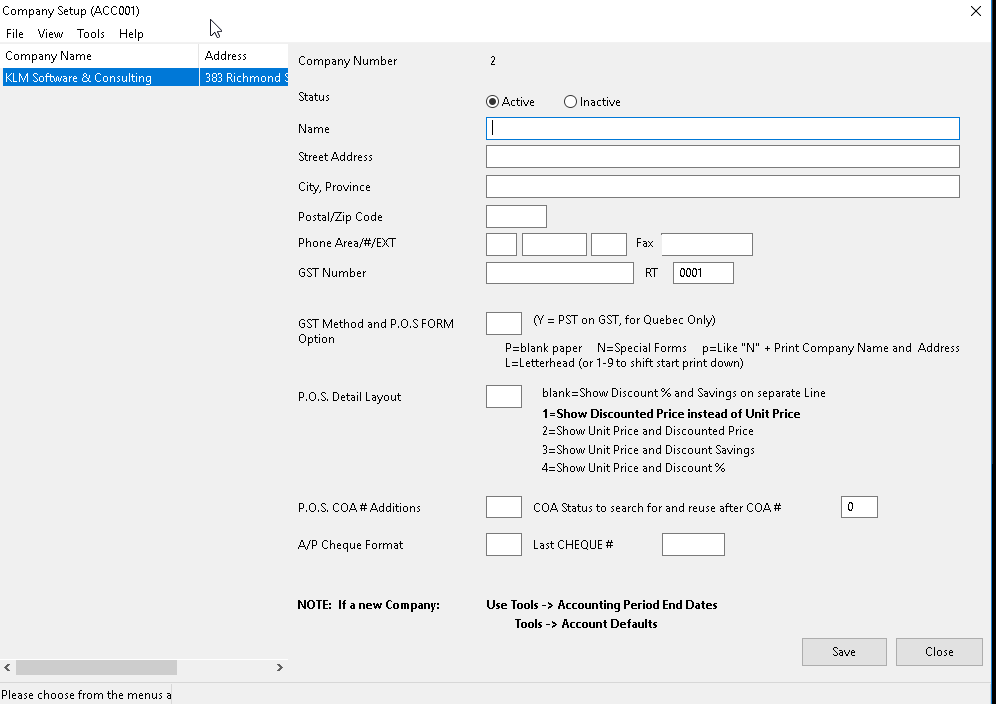
2) You will then be provided with the next available Company number and the EDIT screen for this company (on the right side of screen) will become active.
3) Fill in the appropriate fields (see field definitions if unsure of field contents), then SAVE the newly created record.
Note: You can add up to 99 companies.
UPDATE AN EXISTING COMPANY RECORD
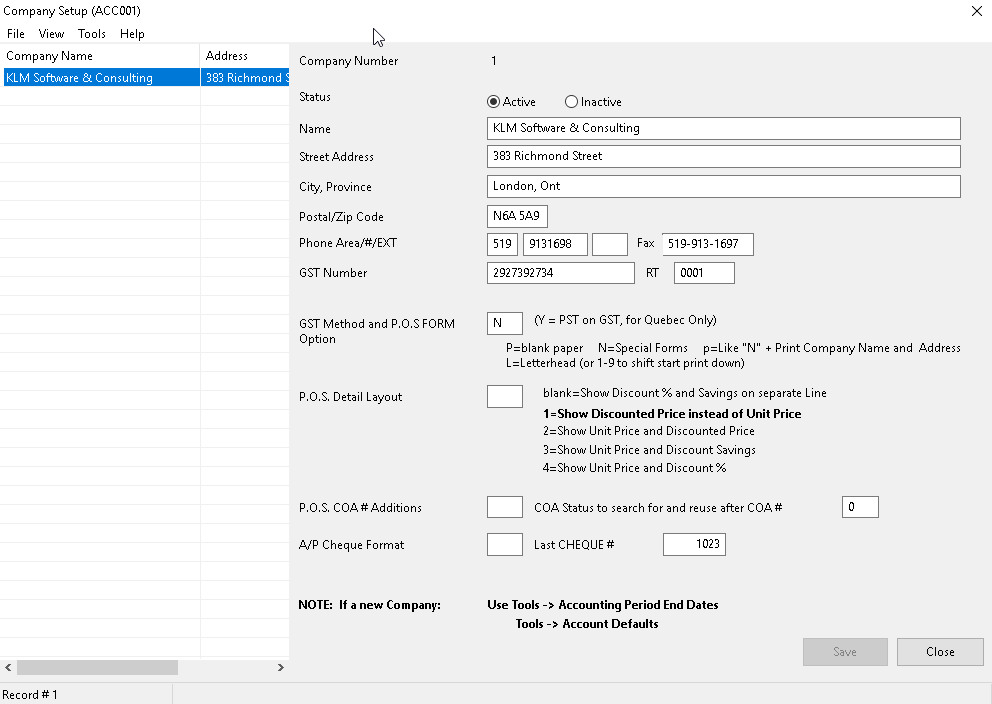
1) Select the appropriate Company Record from the list provided. The Company record EDIT screen will then appear to the right. Make any changes then click on the SAVE button.
2) Company records can not be DELETED but you can mark a company as Inactive. A Company number can be reassigned to a new company,(only if no Accounting records have ever been generated)for that company.
FIELD DEFINITIONS:
Field |
Definition |
COMPANY NO |
Is a display only field. The Company Number is assigned by the program when the company is created and CAN NOT be changed. |
STATUS |
Must be A for an active Company, or D to indicate this company is not being used any more. The program does this automatically when you select either ACTIVE or INACTIVE option. |
NAME |
Enter the company name that you want to appear on report headings. |
STREET ADDRESS |
Enter the company’s street or mailing address. As this address will appear on invoices, use the official mailing address. |
CITY, PROVINCE |
Enter the city and province in which the company is located. Separate city and province using a comma. |
POSTAL/ZIP CODE: |
Enter a valid Postal Code (Zip Code if this is a US company). |
PHONE # |
Enter Area Code, Phone Number, Optional Office Extension |
FAX # |
If you have a separate line for your Fax machine, enter the phone number (including area code) here. |
BN (GST) Number |
Enter the company Business Number, as issued by Revenue Canada. This field will print on customer invoices. |
RT |
Extension for multiple company Business Numbers. If you have 1 (one) company, enter 0001. |
GST METHOD |
For most provinces, GST is calculated on the sub-total of an invoice the same as PST. For QUEBEC this field must contain a Y to indicate the different method of calculating GST ==> GST=(Sub-Total + PST x 7%. If a P is entered in this field, the program will print the Company Name & Street Address on forms produced by ACCMENU #11A,13A,14P,22 and INVMENU #22.This feature IS NOT available for Quebec due to the above requirement. |
P.O.S. DETAIL LAYOUT |
Used with the Point Of Sale invoice printing options (Order Entry in Accounting). By entering specific indicators, the program will manipulate detail lines are AR invoices (printed) to reflect accordingly. Not this option has not been fully implemented in the KLM windows Accounting system. |
P.O.S. COA# ADDITIONAL |
Option is not yet implemented. |
COA STATUS |
Option is not yet implemented. |
CHEQUE WRITER |
The letter placed here, represents one of the cheque styles offered by KLM. The main ones are as follows; I (Cheque first, then stub) or A (Stub first, then cheque). Cheques are standard layout and print on any laser or inkjet printer. Custom cheque formats can be made but require “custom” programming and are chargeable by KLM software. |
LAST CHEQUE NO. |
This field can be altered. It contains the last physical cheque number (for AP cheques) issued by the system. If you used cheques with per-printed numbers, enter the last number used (i.e. if the last cheque used was 499 enter that). The program will automatically use the next cheque number when issuing AP cheques. |
ACCOUNTING PERIODS
Used throughout this system to assign accounting periods to journal records based on system date (or invoice date) look-up.
These dates are based on your accounting fiscal periods and correspond with the appropriate months.
We recommend that you set up this file BEFORE you begin entering data into the KLM Accounting system.
ADD / UPDATE ACCOUNTING PERIODS
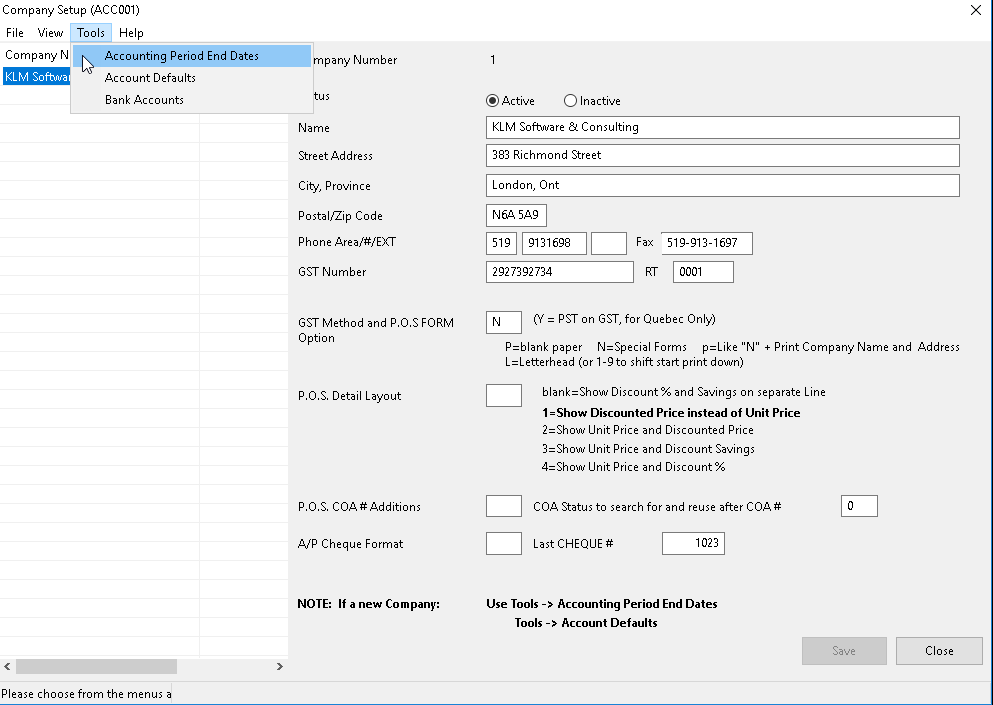
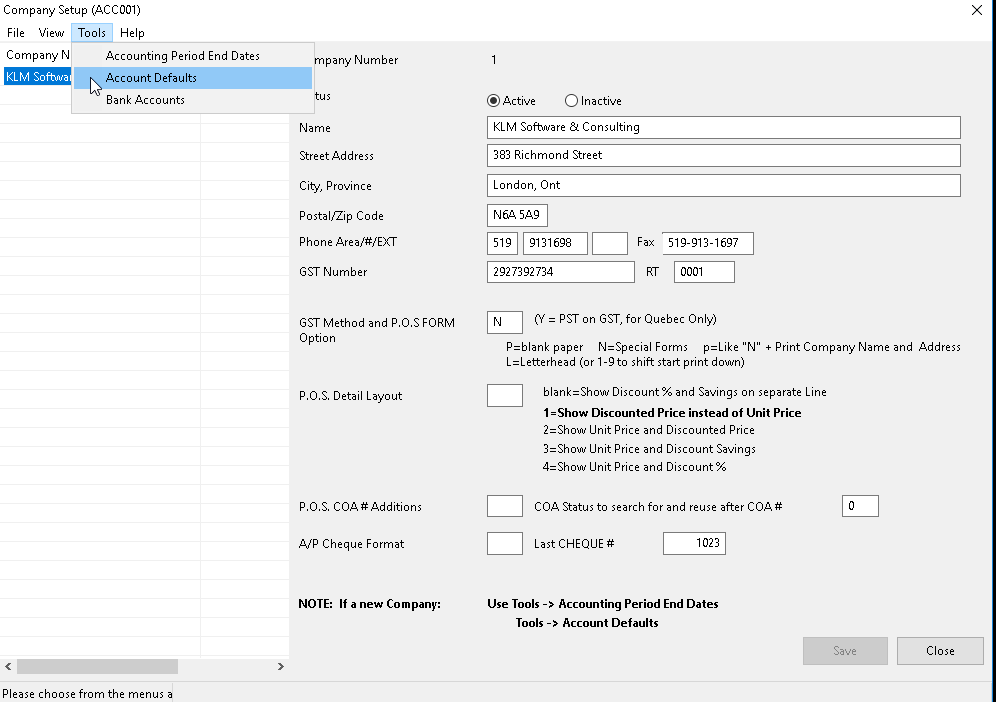
1) Select Company Master Record (by highlighting it), then select the TOOLS Menu.
2) Select ACCOUNTING PERIOD END DATES. If no dates exist, the option will show a Blank screen. If dates have already been entered, they will appear by the corresponding Period Numbers.
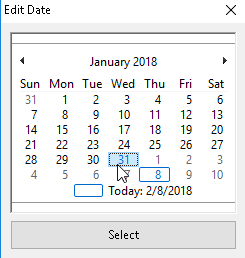
3) Click on OPTIONS, then select GENERATE DATES. Use the Date Selector to pick the 1st Period Ending Date. Be sure to use the last day of the month. For example, if your first accounting period is the month of January, the Ending Date will January 31st.
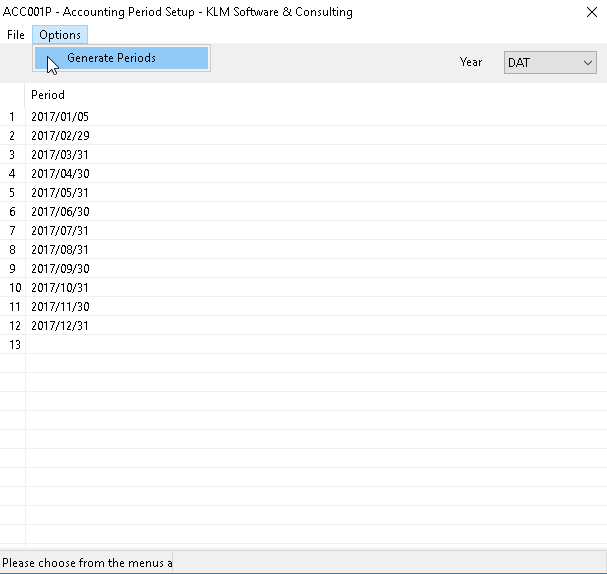
4) Once the date has been selected, click on SELECT. The program automatically generates said dates.
NOTE: All dates are in year, month, day format. Each company has it’s own period ending dates Each fiscal accounting year will have it’s own Period Ending Dates file.
PERIOD 13: Can be used when entering year end journal adjustments from your accountant, even though period "13" is not assigned here when using monthly period ending dates. If your fiscal year is divided into four week accounting periods assign PERIOD "01"-"13" with the appropriate ending DATE.
GL ACCOUNT DEFAULTS
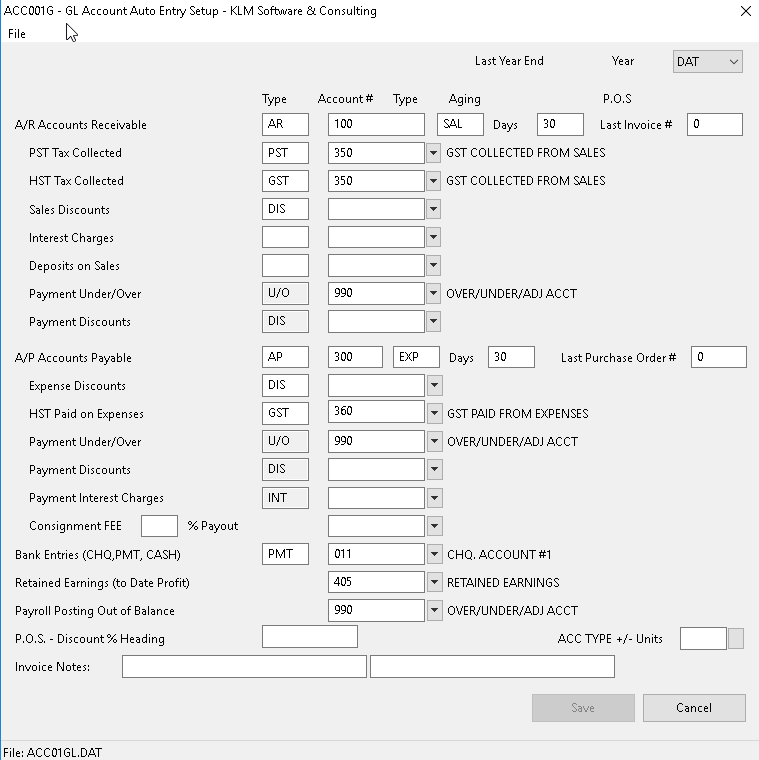
The information supplied by this screen is used throughout this system to make input easier. Input values such as GST and PST will automatically be assigned the appropriate GL Account number minimizing input time and possible error. To complete this step, you will need to have a list of your GL Chart of Accounts.
NOTE: it is recommended that you have setup your GL Chart Of Accounts (ACCMENU#2) before entering date in this option.
ADD / UPDATE GL ACCOUNT DEFAULTS
1) Selected Company Master Record (by highlighting it), then select the TOOLS Menu.
2) Select ACCOUNTING DEFAULTS. If no data exist, the option will show a Blank screen. If data has already been entered information will be displayed.
3) Fill in or verify correctness of all applicable fields. Fill in only those fields (GL Accounts) that you use on a regular basis. Click on SAVE button to save any changes and end this screen.
FIELD DEFINITIONS (GL Account Defaults)
Field |
Definition |
YEAR |
Each Accounting year has it's own default information, which is duplicated into the current year during the year end process. Year DAT represents the current year. |
TYPE |
This is the transaction TYPE that will be assigned to all auto. journal entries created for the corresponding GL Account number. Types "AR ", "AP " and "CHQ" are reserved types and must not be altered or used for other purposes. All other types can be assigned freely, they will help you identify journal records when viewing or listing. |
GL ACCOUNT NUMBER |
ALL GL Account numbers entered must be set up in the GL Chart of Accounts (see MENU #2). The accounts assigned should correspond to the screen description displayed prior to the account. |
DAYS TO AGE for AR and AP |
Unless otherwise indicated in a Supplier/Customer master record (see MENU #3) all outstanding invoices entered will be assigned a due date based on this value being added to the invoice date. (Accessed by Menu #11,11A,13,13A,14P) |
INVOICE NOTES |
The contents of these fields print on Invoice forms MENU#14P. |