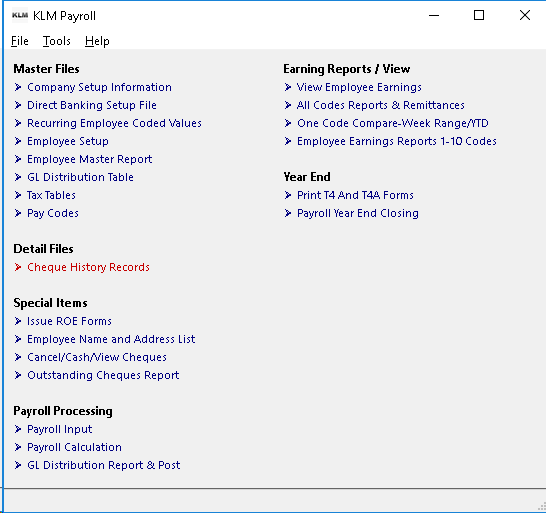
Cheque History Records
CHEQUE HISTORY RECORDS
PURPOSE:
In this Menu option, you can access and if need be change the cheque history records that were generated when cheque input was processed in Payroll Calculation.
Each record contains both the input entered in Payroll Input and the processed results from Payroll Calculation. The amounts stored in each history record are for that pay period alone. The totals of these records make up the Year-To-Date figures for each employee.
NOTE: That while you have the capacity to alter cheque history records in this option, it is not recommended that you do so, as any alteration would entitle changes to government deductions.
KEEP IN MIND
The information stored in this file is accessed by most programs in this system.
- When processing payroll the year-to-date amounts for each employee help determine, if he/she has reached the maximums for various deductions.
- Cheque Register and Cheque Stubs print the year-to-date totals from the information in this file.
Each calendar year has it's own cheque history file. The default assumes the current year but any previous year can be viewed using the Year pull down.
From this menu option view and/or list earnings records. KLM does allow you to FLAG a record as either deleted or disabled but does not allow major changes to this file.
Cheque History Records contains two screens:
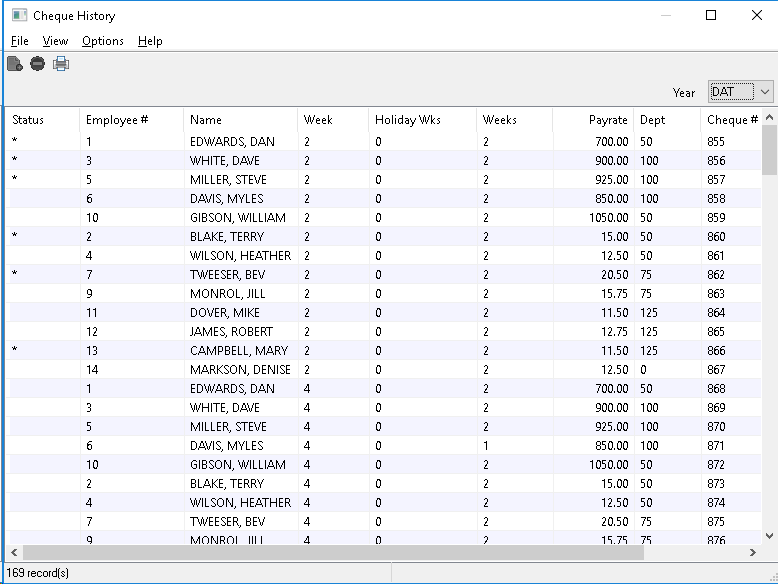
- The File LIST Screen which appears upon entering option. Any column can be sorted by clicking on the screen's headings (ie. by NAME order). Default is by Week Number in ascending order.
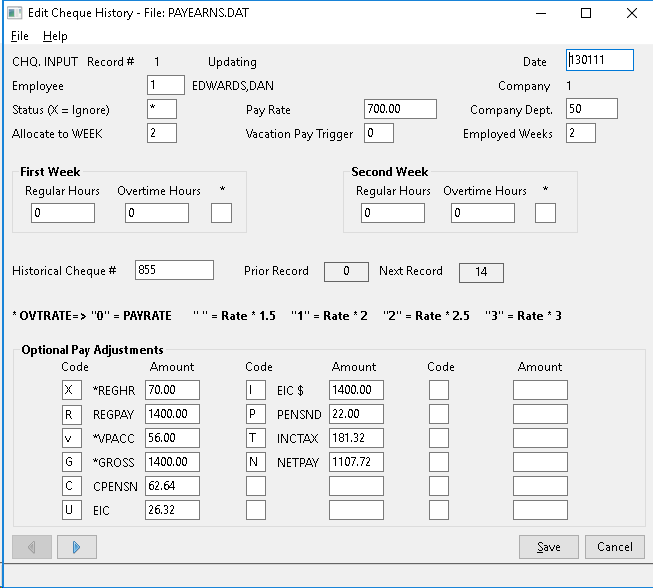
- The Cheque History Screen which appears if a specific data record is selected with a Double Click.
List / View screen: (all active records)
EDIT Cheque Record screen: one employee
In the beginning of each calendar year (before any payroll is processed) this file is empty. You can not add new Cheque History Records directly into this file.
MODIFY EXISTING CHEQUE HISTORY RECORDS
Modifying history records can cause major problems, as such KLM recommends limiting the type of changes that can be made.
- Upon entry of this option, the File List (or view) screen is displayed. All data records for the current (default) year are displayed. Be sure to change the year indicator if you wish a year other than the present one (DAT).
- Find and then select the record you wish to view or change by Double clicking.
While you can change any of the field's contents, it is not recommended to do so from this option. If you need to re-calculate an employee's pay cheque, cancel the original and re-issue the cheque.
NOTE: Changing ONE dollar amount (i.e. wage amount) will not automatically adjust the remaining figures.
STATUS (X=IGNORE)
Place an X in this field. This record will now be treated as if deleted. It will not be removed from the file but will now be **IGNORED **upon processing of the file contents.
NOTE: For clients that have purchased the LABOUR DISTRIBUTION feature, each labour line must also be deleted or the lines will continue to display on any Labour Reports or Invoices issued.
Use MENU#10 to delete any corresponding labour records associated with this earnings record.
NOTE: The listing on the first screen is defaulted to only show active records (those with either a BLANK or * in the STATUS field.
You can change this by selecting the VIEW Menu from the MENU Bar, then clicking once on the DISABLED RECORDS option. Now all records in the FILE will appear.
Once any change has been made, save the record using the SAVE Button. You are then returned to the prior data screen.
Remember you can also use the LEFT / RIGHT Arrow Buttons to go forward or backward through the data records.
LIST * EXISTING * CHEQUE HISTORY FILE
Upon entering this option, you are presented with a listing of all records in this file (default being for the current DAT year).
To obtain a hard copy, go to the MENU Bar and click on FILE then PRINT from the Pull Down Menu. A standard Windows Print Setup screen will appear. Select your printer than click on the OK button.
The listings printed in this manner, are limited to the List / View screen contents. For detailed reports, use reporting options provided with this software.