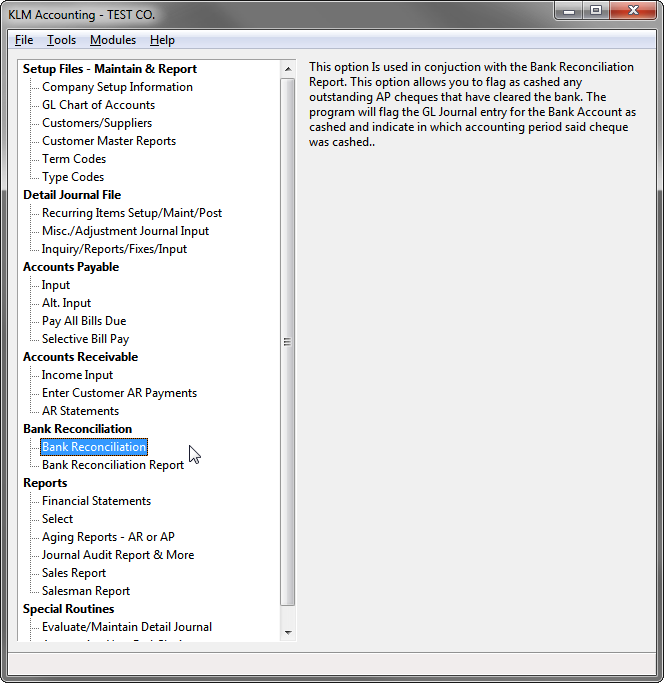
Bank Reconciliation
Bank Reconciliation
PURPOSE:
This program has two purposes:
- To reconcile any AP cheques that clear the bank
- TO reconcile all depositsthat clear the bank
There are 3 screens (tabs) to this option:
- A Summary screen of all deposits / withdraws
- A Reconcile Cheques screen
- A Reconcile Deposits screen
As items are reconciled or "cleared" the results appear on the summary screen.
REQUIREMENTS:
The following files must exist:
- Your Company Information File
- The Chart of Accounts File
- Your COA Customers/Supplies File
- The Detail Journal File containing outstanding AP Cheques
- The Deposits File containing any outstanding deposits.
To limit confusion, you should have the following items before you being to reconcile the bank accounts:
- Bank Statement
- Cashed Cheques (list or actual cheques)
- Deposit book or slips
- List of any entries that have yet to be posted, such as bank service charges.
Once you have run the Bank Reconciliation and you know you are in balance, you can run the Bank Reconciliation report (Menu #22) to obtain a printed copy of all that has been entered here.
SUMMARY Screen
Upon entry of this option, you are presented with the Summary screen. This screen will keep a running total of what cheques and/or deposits you reconcile and what items are still outstanding.
Before you begin you must select the following:
- BANK Account: The GL Account Number for the BANK
- Statement PERIOD: The Accounting PERIOD you wish to reconcile with the Bank Statement.
- YEAR: The Account Year (file ID) you wish to access.
Note: These prompts must be set before you can begin to either reconcile cheques or deposits. The program will, upon entry of this option, use the defaults for the Bank, Accounting Period and File ID (Accounting Year).

Note: When you first enter this option and select your bank, period and accounting year, ONLY the Bank Opening Balance figure will appear. All other fields will be blank.
There are 7 fields which the program calculates values for automatically. They are as follows:
- Bank Opening Balance: This amount will match the closing balance (for the GL Bank Account) for the prior month.
- Less Withdraws: This amount represents all reconciled cheques (as you clear them)
- Plus Deposits: This amount represents all reconciled deposits (as you clear them)
- Plus O/S Cheques: This amount will represent all cheques still outstanding (any cheque not cashed)
- Less O?S Deposits: This amount represents all deposits still outstanding (any deposit that has not cleared the bank)
- Less Bank Charges: Any service fees not already entered into the GL journal.
- Closing Bank Balance: This amount is a calculated figure and should, once all items have been properly cleared, match your bank statement closing figure.
Each time you return to the Summary screen, any changes made (cheque cleared) in either the Cheques or Deposits screens, will appear here. Items cleared will no longer show on the O/S (outstanding) sections.

The UPDATE SUMMARY button will automatically calculate a Closing Bank Balance based upon the data provided in the fields above. If all items on the bank statement have been accounted for, this field should match the closing balance on your Bank Statement.
RECONCILE CHEQUES
Before entering this option, be sure you have a list of ALL AP cheques that have been cashed since the last time this option was run. You need either the bank statement or the returned cheques.
Recording of cashed cheques is necessary, if you wish to have an accurate Bank Statement produced in Menu #22. Any cheques NOT cashed will appear on the report as still being outstanding.
Any cheque is considered to be outstanding if the journal entry has a STATUS of Aand a TRANSACTION TYPE of CHQ.
Cheques are listed in the order they were entered. Only outstanding cheques for the current (statement) period and all prior periods are shown. Once a cheque has been cleared it is removed from future displays.
No journal records are created when a cheque is cashed. The program merely changes the STATUS from A for Active to R for Reconciled. As no new entries are created, running a Post and Link in Menu #30 is not necessary.
Follow the steps below to record cashed cheques:
1) Click on the RECONCILE Cheques Tab. The screen will show the Bank GL Account, Statement Period and Year at the top of the screen.
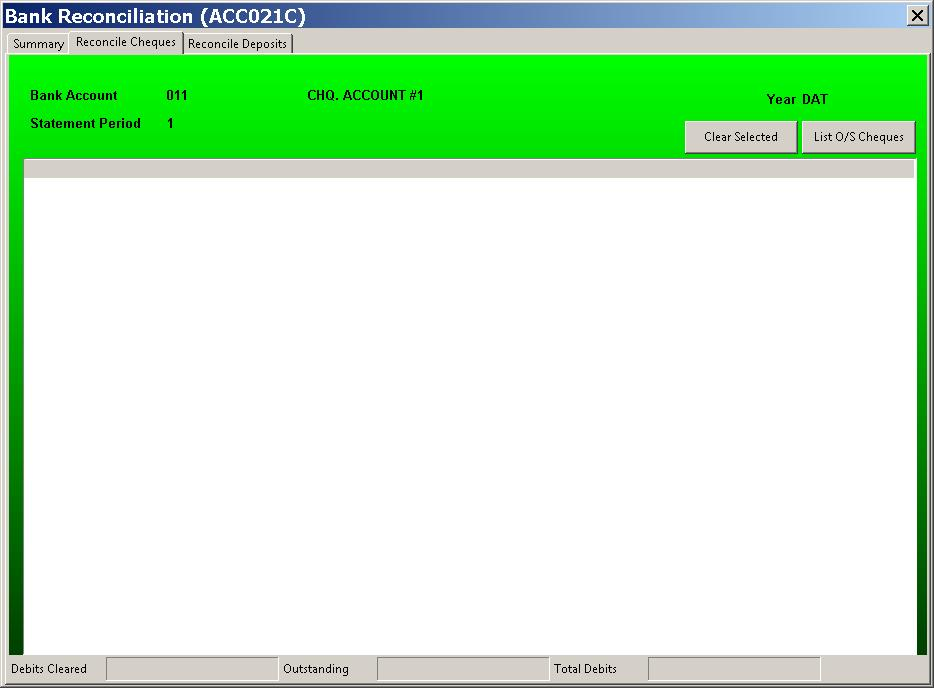
2) To obtain a list of outstanding cheques, click the LIST OUTSTANDING CHEQUES button once. The cheque entries will be listed immediately below, in the order they were entered.
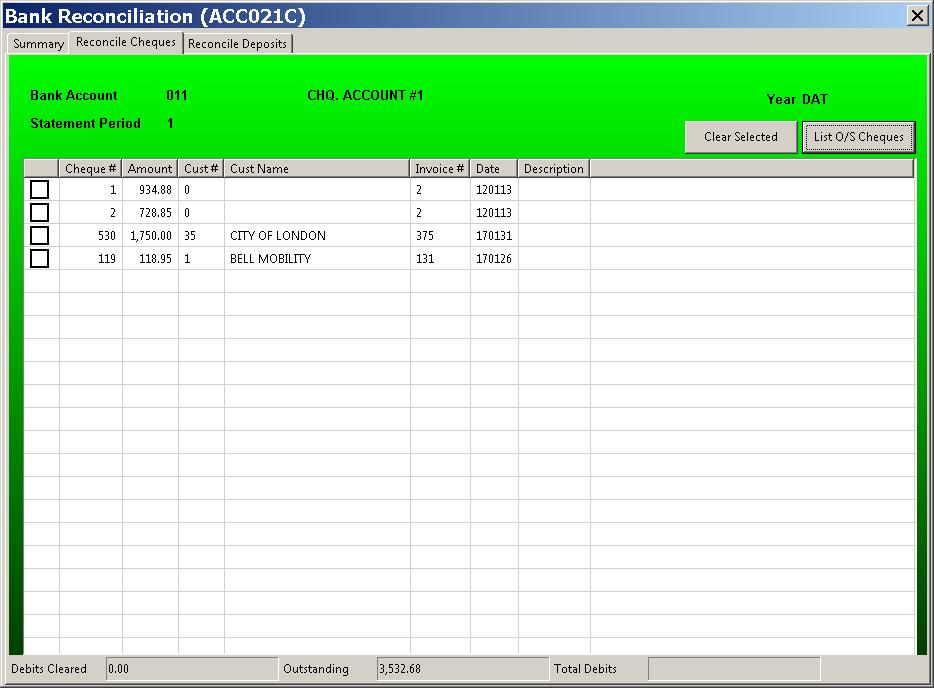
3) To cash a cheque, place the cursor on the check box beside the cheque you want cashed than click once to mark this cheque cashed. The cheque is not yet cashed, simply flagged as cashed. The program keeps running totals of cheques that have been cashed (cleared) and those that are still outstanding. These totals appear at the bottom of the screen.
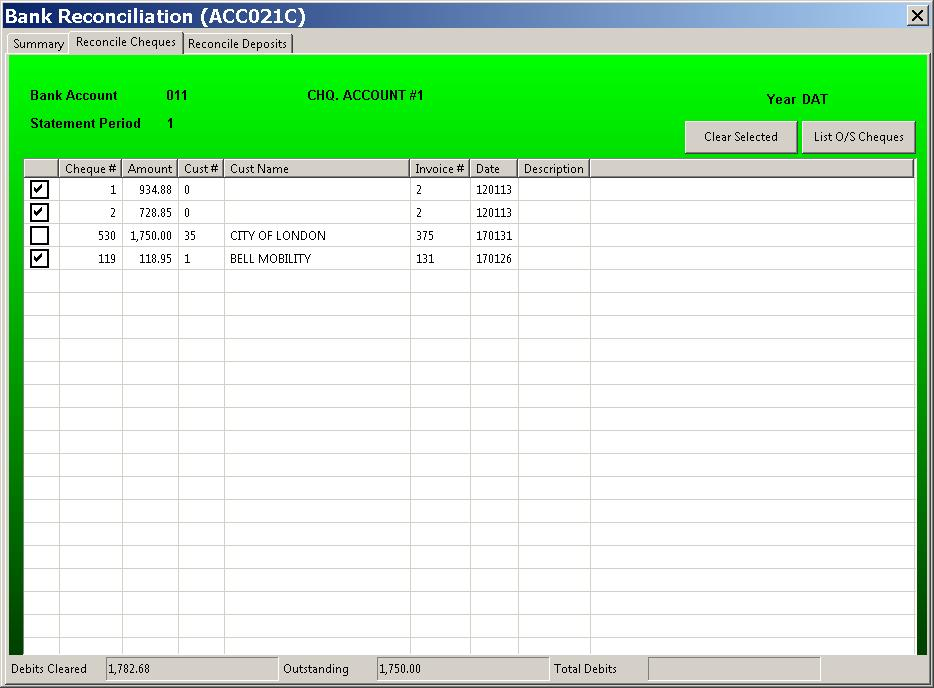
4) Once you have selected all the cheques you wish cashed, click on the CLEAR SELECTED Button. The program will now update the Detail Journal changing each flagged cheque from a STATUS of A to a STATUS of R. The program will also record, in the Paid Period field the accounting period in which the cheque was cashed.
When you return to the SUMMARY screen, if you have cashed (cleared or reconciled) any cheques, the program automatically updates the appropriate fields.
IF YOU MAKE A MISTAKE
On occasion, you will make mistakes, resulting in the cashing of the wrong AP Cheque or cheques. How you correct your errors will depend upon when you realize you have made a mistake and where in the program you are when you realize the mistake was made.
If you are:
a) If you are still in RECONCILE Cheques screen, you can reverse any cheque that has been cashed accidentally, simply by clearing the check box beside said cheque. Note that this can only be done, if you have not yet PROCESSED the cheque in question.
b) If you have already reconciled the cheques and after viewing your reports realize that you have cashed one or more cheques by mistake, do the following:
The status of each cheque record cashed by mistake MUST be set back to A from R. Enter the Detail Journal Maintenance and call each record in turn. Change the *(Status)field to an A from a R. You should also remove the Period Number form the PPRD (Paid Period) field, as this indicates when during the accounting year a cheque was cashed. Be sure to SAVE any changes made, then re-run your reports.
RECONCILE Deposits
Before entering this option, be sure you have a list of ALL deposits that have been make since the last time this option was run. You need either the bank statement or the bank deposit book.
Deposits are listed in the order they were entered. Only outstanding deposits for the current (statement) period and all prior periods are shown. Once a deposit has been cleared it is removed from future displays.
Unlike the AP Cheques, which are taken directly form the Detail Transaction Journal, AR deposits (cheques) are taken from a separate deposits file. This file is added to each time you record an entry against the bank in any of the following programs: AR Select (Menu #13) AR Payments (Menu #15) or Post Batch (Menu #14P).
Unlike AP Cheques, the actual bank deposit (of AR cheques) may consists of several journal entries. Remember that the KLM records the individual cheques that make up said deposit, so you must clear (or cash) each cheque, that is part of a deposit amount.
No journal records are created when a deposit is cleared. The program merely changes the STATUS from A for Active to R for Reconciled. This is done in both the main journal and the deposits journal. As no new entries are created, running a Post and Link in Menu #30 is not necessary.
Follow the steps below to record deposits:
1) Click on the RECONCILE Deposits Tab. The screen will show the Bank GL Account, Statement Period and Year at the top of the screen.
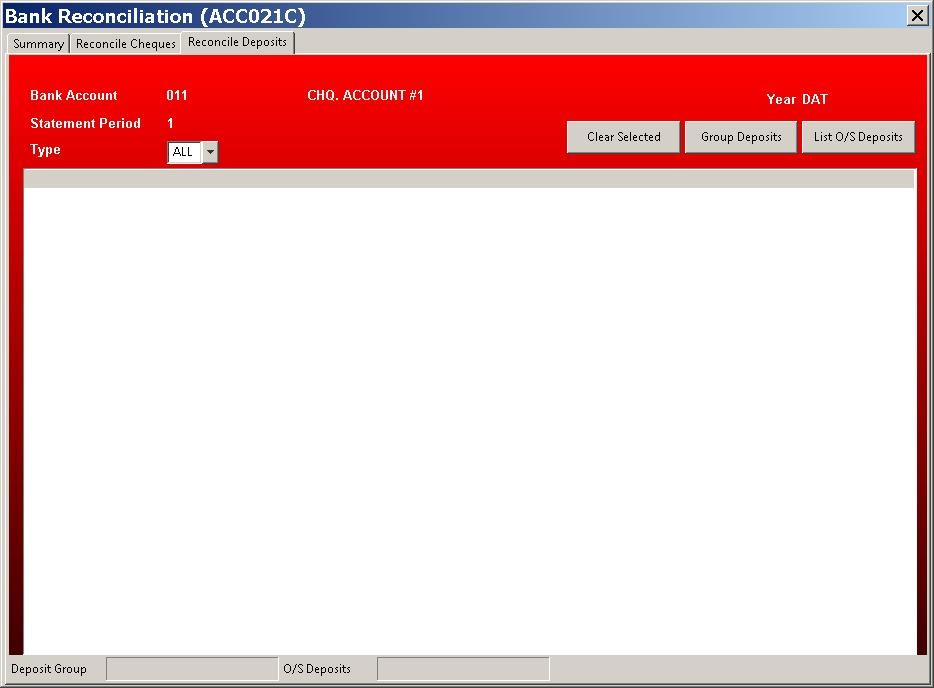
2) To obtain a list of outstanding Deposits, click the LIST OUTSTANDING DEPOSITS button once. The deposit entries will be listed immediately below, in the order they were entered.
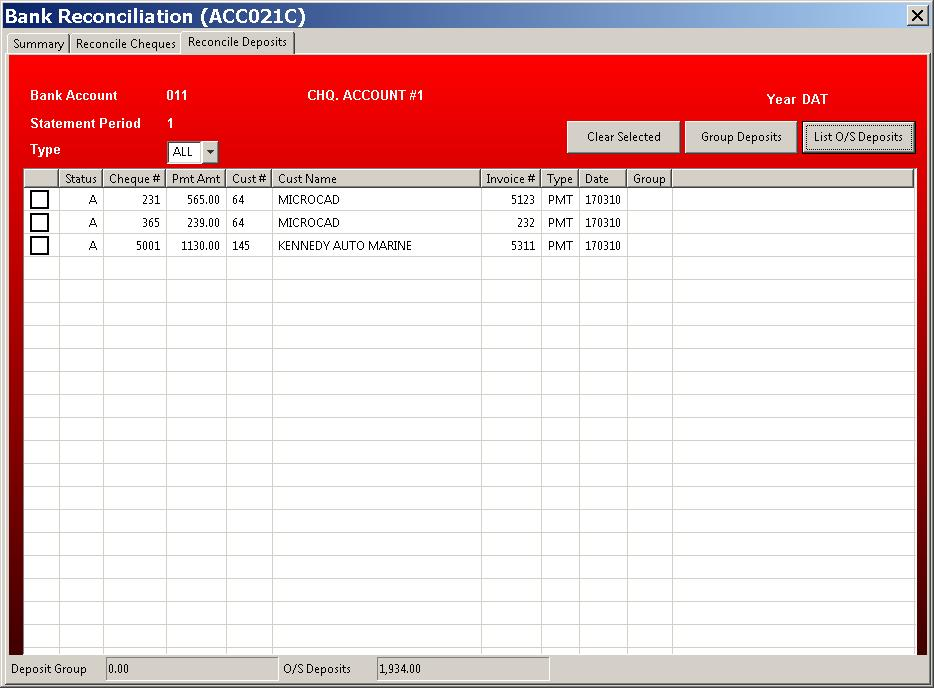
3) To clear a deposit, place the cursor on the check box beside the cheque you want cleared than click once to mark this cheque cleared. The cheque is not yet cashed, simply flagged as cashed. The program keeps running totals of cheques that have been cashed (cleared) and those that are still outstanding. These totals appear at the bottom of the screen.
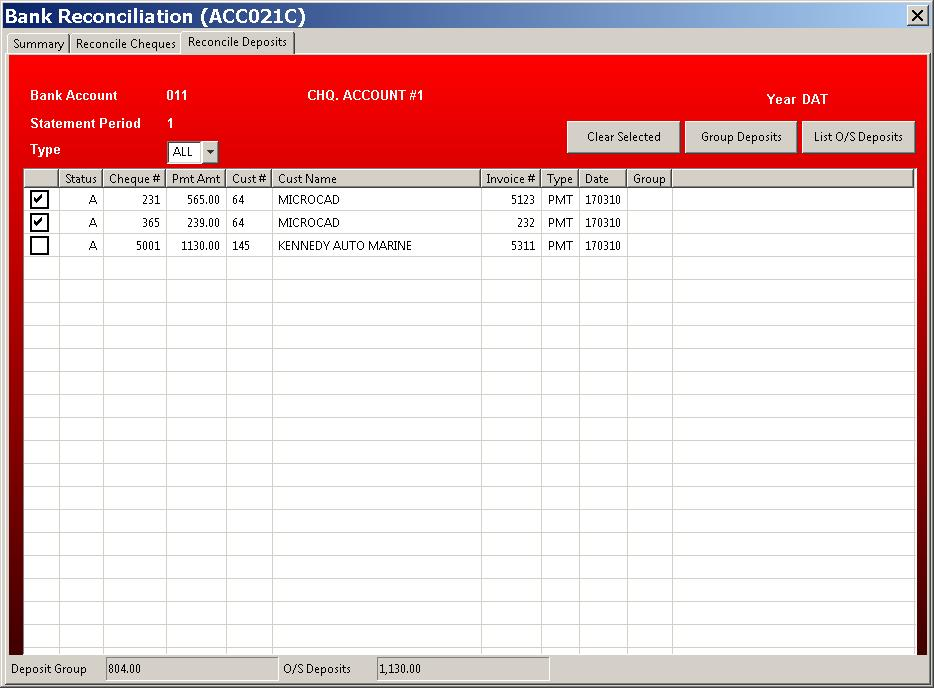
4) Once you have selected all the cheques you wish cashed, click on the CLEAR SELECTED Button. The program will now update the Detail Journal changing each flagged cheque from a STATUS of A to a STATUS of R.
When you return to the SUMMARY screen, if you have cashed (cleared or reconciled) any deposits, the program automatically updates the appropriate fields.